Full Instructions
These instructions are for the outside edge of a paperback book
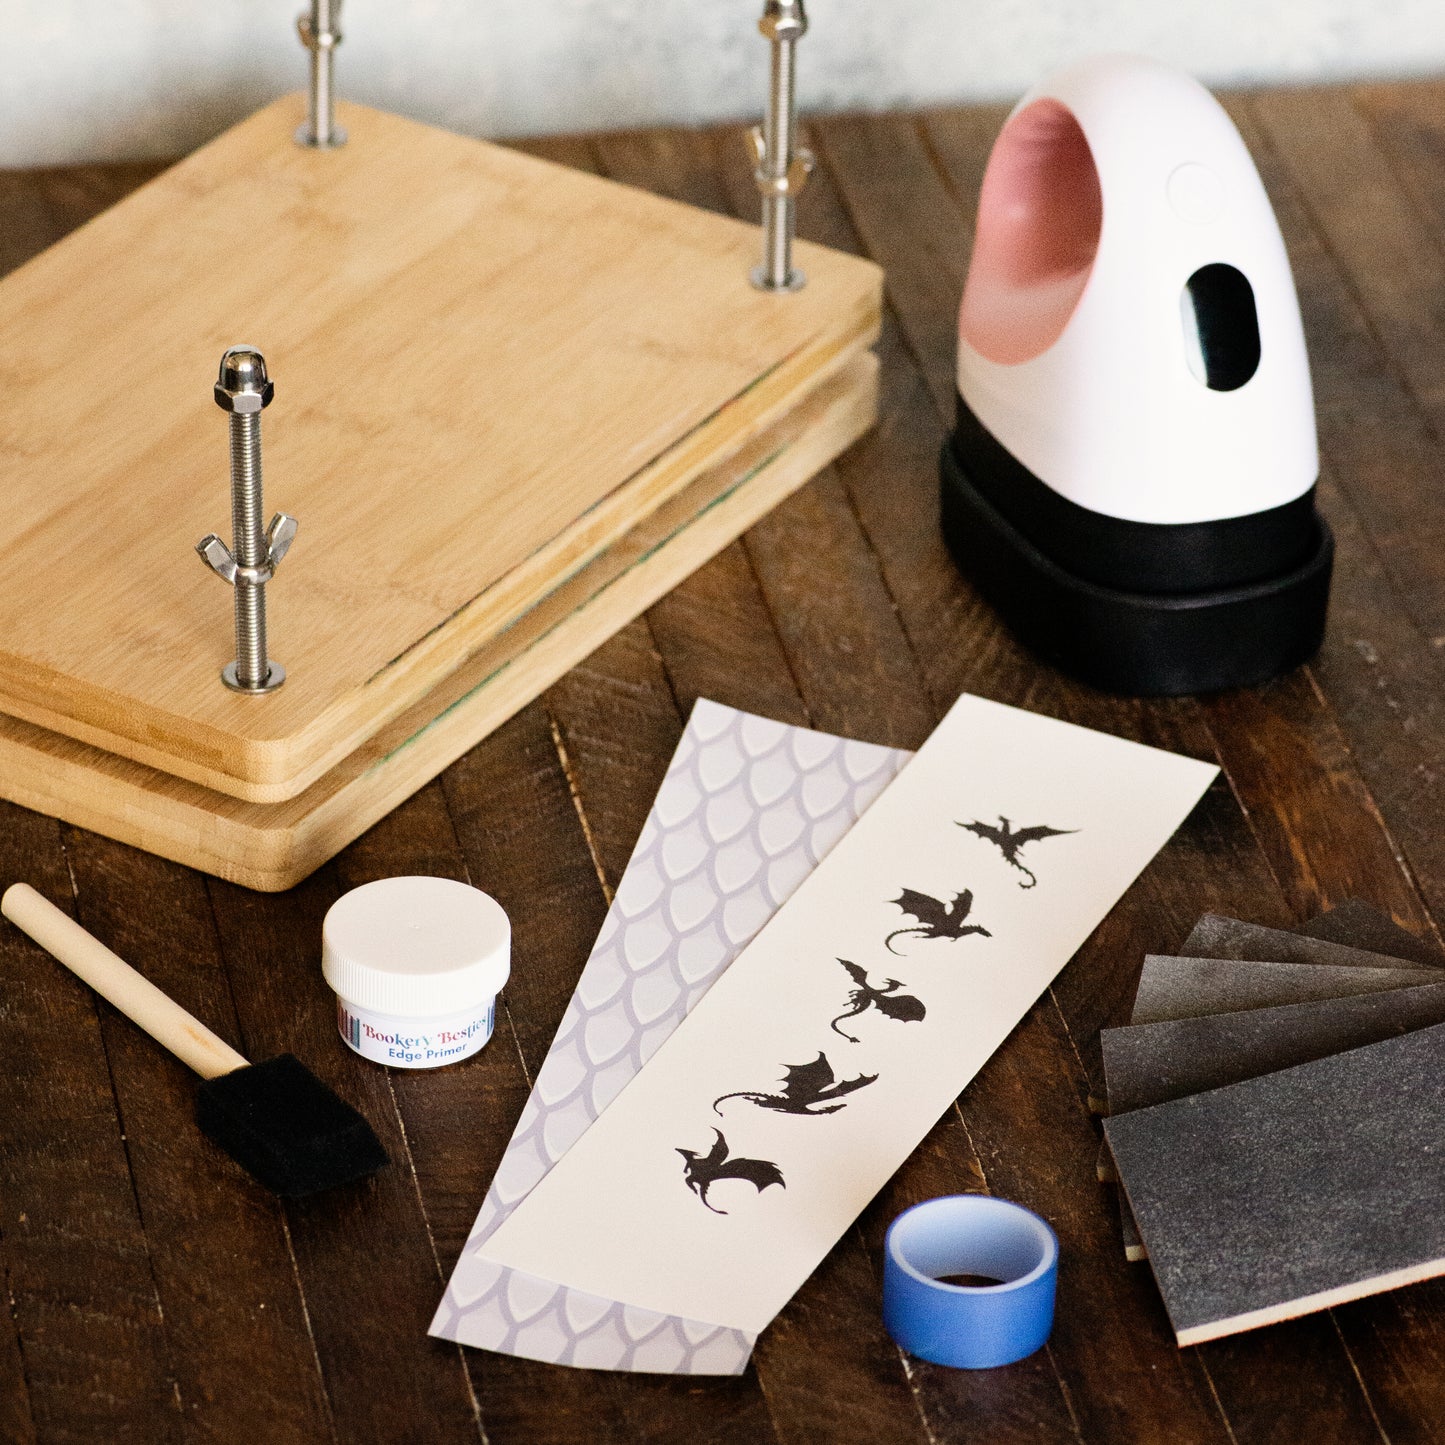
Supplies Needed:
- Book: Your main project material
- Bookery Edge Design: For the aesthetic finish
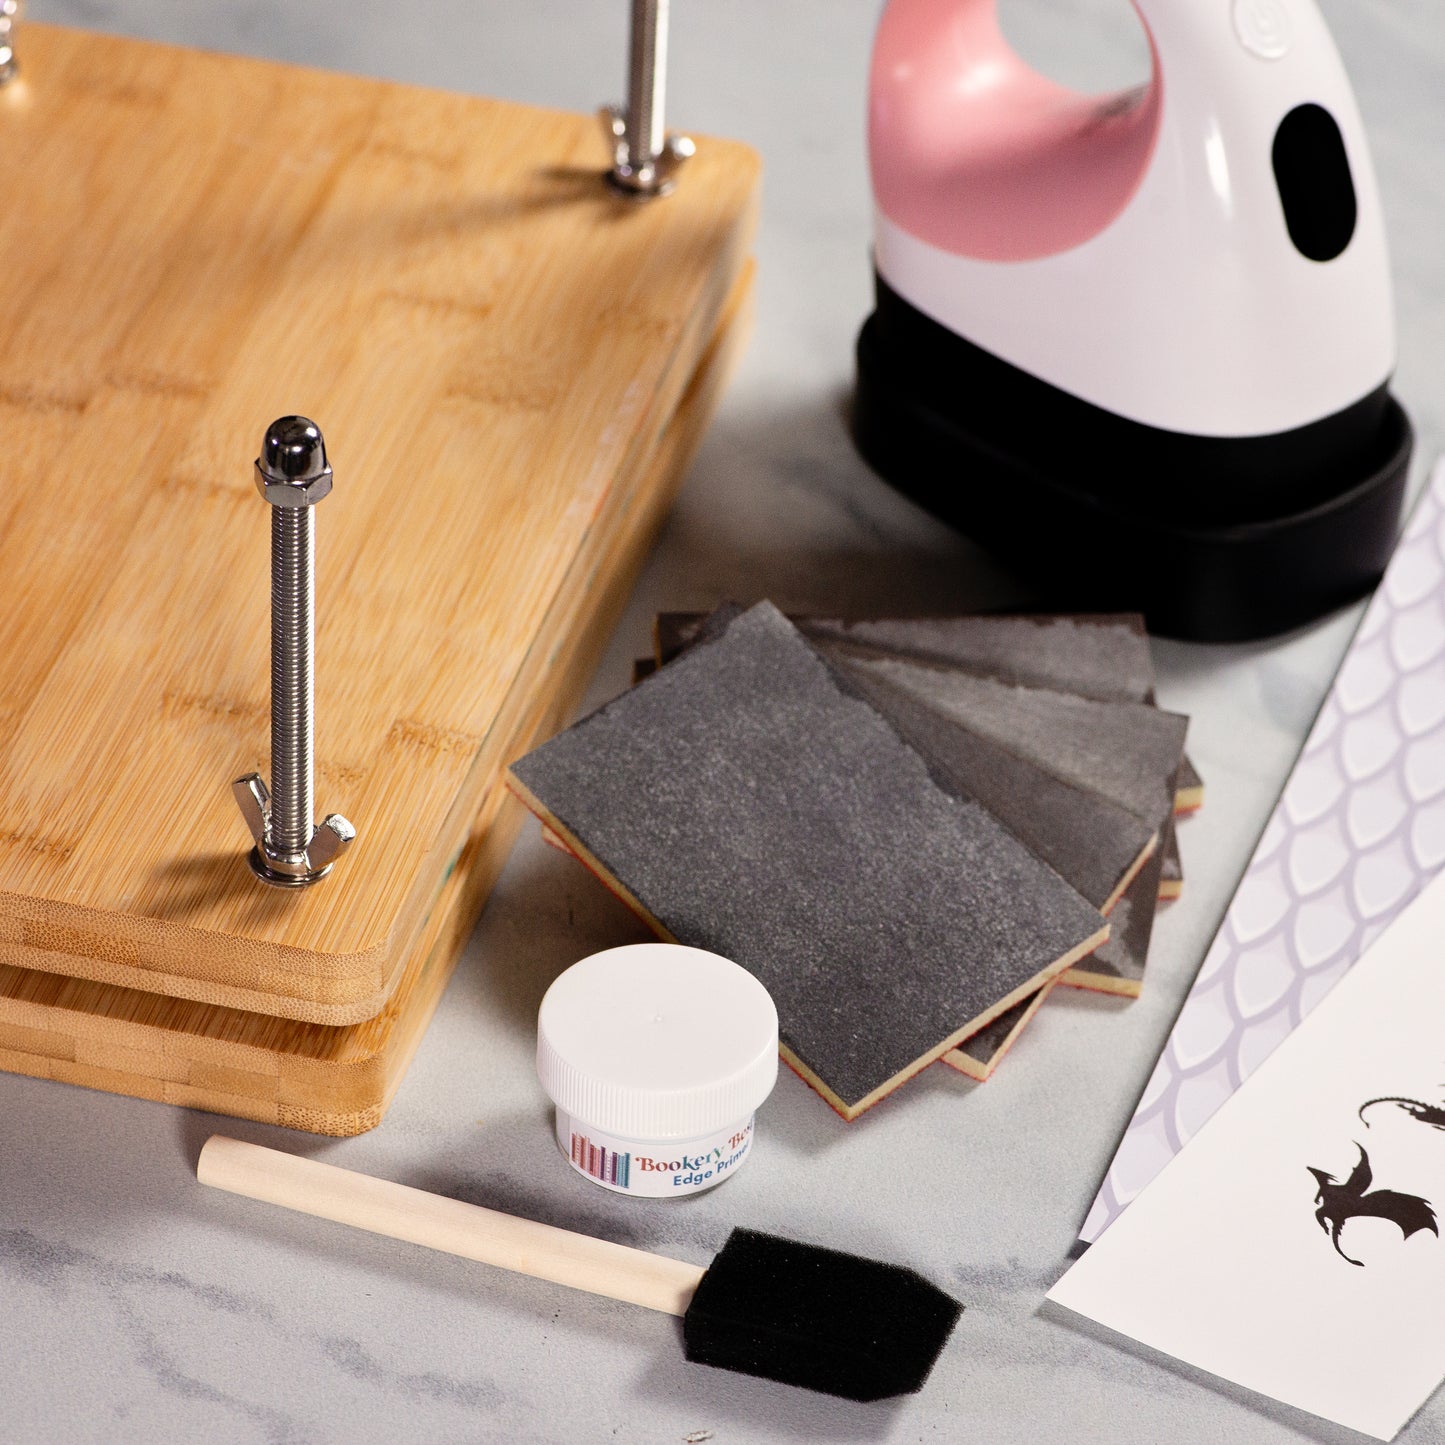
- Book Press: To hold your book secure
- Sanding Blocks: A range from 120-2000 grit for smoothing edges
- Mini Heat Press: Set to 400°F for even heat application
Optional supplies
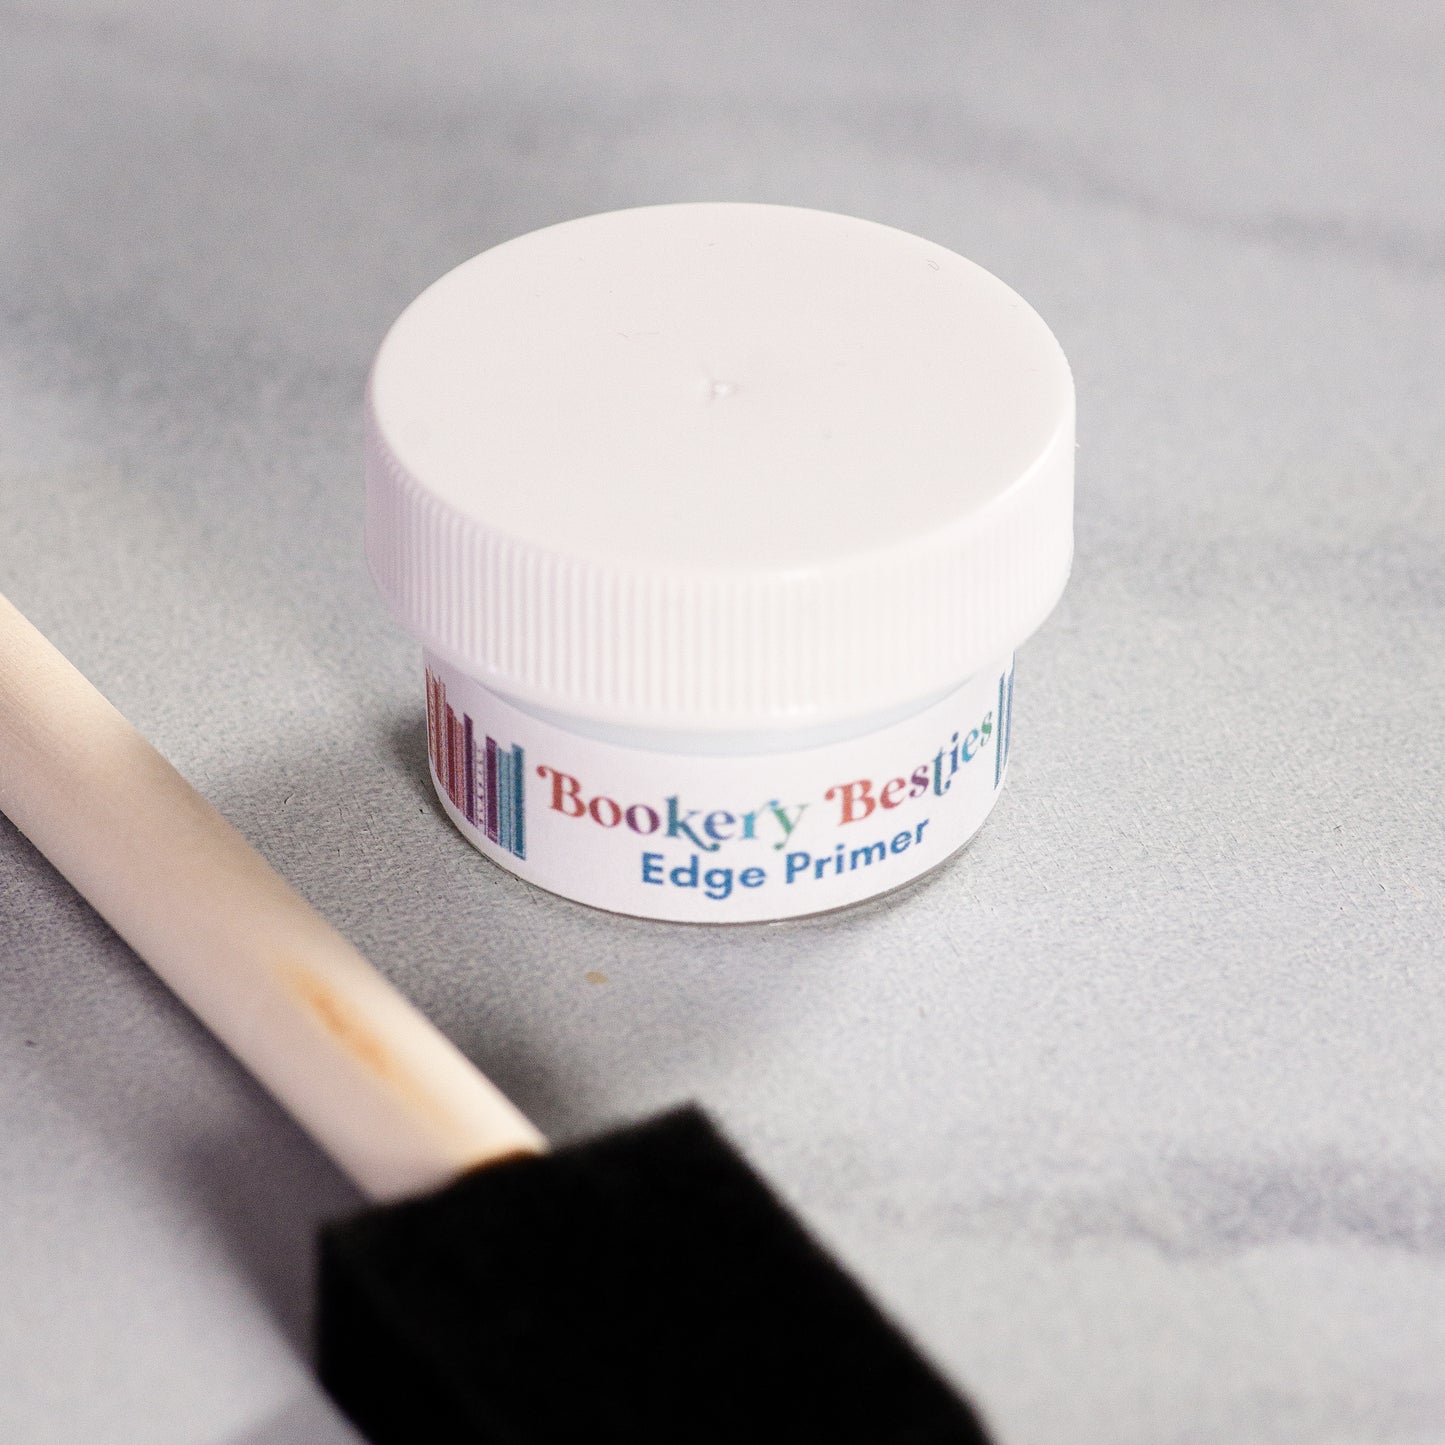
- Bookery Primer: Formulated to elevate the vibrancy and intricate details
-
Dry Brush: For brushing away dust
- Scissors or Paper Trimmer: Trimming your edge
-
Heat Resistant Tape: To secure materials when applying heat
Optional Step: Do a Test
- Cut a small piece off the top of the design (or a corner of a full sheet)
- Layer cardstock over parchment paper on a heat resistant surface, then use heat-resistant tape to secure the sample down
- Turn on the heat press to high; once hot, press into the design with high pressure for 45 seconds
- When done, lift the press straight up without jiggling or sliding
- Let cool, then peel back to check the design test
Step 1: Place Book in Book Press
- Mostly tighten the nuts to hold the book in place while still allowing some manipulation
- Use a flat surface to push along the spine of the book, ensuring the edge is as flat as possible; this prevents mounds or valleys that could affect even pressing
- Once flat, make sure the book is sticking out from the edge by about 1 mm
- Tighten the nuts the rest of the way – DO NOT overtighten
Step 2: Sand Edges Smooth
- Start with 120/180 grit sandpaper, sand the book to even out any ridges or grooves
- Sand evenly to ensure the center doesn’t dip lower than the top and bottom; rotate the press to maintain evenness
- Gradually work your way up to finer grits (800-1000), applying consistent pressure; smoother pages will help details show up better
- Brush away dust between sandpaper grits
- Make sure the book edge is completely flat - You don't want there to be any gaps when the heat press lays against the book edge.
Step 3: Prime book edges
- Shake the primer before use.
- Dip the foam brush into the Bookery Primer – just the tip.
- Brush a thin layer across the sanded edge of the book
- Let dry completely (we use a hair dryer to speed it along)
- Brush a second thin layer across the edge again
- Let dry completely – if the primer is still damp in any way the Bookery Edge might stick to the book after heating.
Step 4: Trim the Bookery Edge
- Decide on the placement of the design: Do you want a certain aspect centered, slightly angled, etc.? Remember that the colored side faces down toward the book
- Mark your cut lines with a pencil, or a pen
- Trim the width, but leave the top and bottom uncut; the overhang will help secure the strip in place
- Place the excess back into the plastic for future use
Step 5: Tape into Place
- Tape down the top and bottom of the Bookery Edge to the top and bottom of the book
- Avoid taping across the outside; this can dull the effect of the heat and color
- Keep the strip nice and tight to prevent any wiggling
Step 6: Press
- Turn on the heat press to high
- With firm pressure, hold the heat press to the edge for 45 seconds, 35 seconds if you're using a mostly black design
- When done, lift the press straight up without jiggling or sliding
- Work your way across the book, slightly overlapping each placement of the heat press
- Let cool for 30 seconds then untape one side and lift the paper to check for spots that may need more heat
- Tape the edge back down and go over those spots with firm presser for 15 seconds at a time.
- Note - avoid holding the press in the same area for more than 35-45 seconds—while the paper won’t burn, the ink could scorch
Step 7: Finishing
- Once you’re satisfied with the results, peel off the paper, loosen the bolts slightly (so the pages are held but not squeezed) and let it cool completely
- Finally, take the book out of the press, wiggle, then fan the pages to crack the primer.
- Place your book on your shelf, and enjoy!

1
/
of
5
Bookery Besties
The Kit
Regular price
$75.00 USD
Regular price
$100.00 USD
Sale price
$75.00 USD
Unit price
/
per
Shipping calculated at checkout.
Share